DispMiniSender user guide
DispMiniSender runs in the menu bar of your Mac mini or MacBook. It creates a virtual display that matches your iMac and sends its picture to DispMini on the iMac. If you haven't set it up yet, start with the setup guide.
The menu bar panel
DispMiniSender has no window or Dock icon. Click the DispMini icon in the menu bar to open its panel. An up arrow on the icon means a new version of DispMiniSender, or of DispMini on the display, is available.
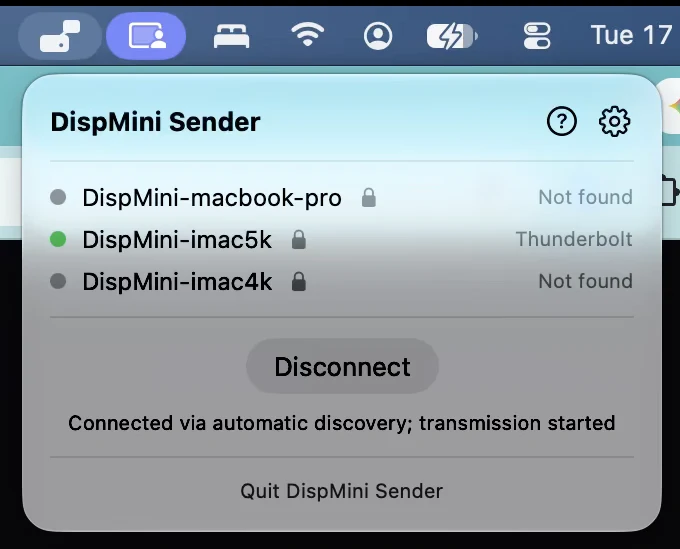
- Displays: every Mac running DispMini that this Mac can find, such as your iMac. The dot and label show how it's connected: Not found, Available, Wi-Fi, Ethernet, Thunderbolt or Thunderbolt · MTU 9000. See what the dots mean.
- Lock: the two Macs are paired.
- Help: the ? button opens this guide.
- Connect by hand: click a display to connect to it, for example over Wi-Fi.
- Pair with …: pairs with a display over Wi-Fi or Ethernet. See how to pair. Over a Thunderbolt cable, the iMac asks by itself.
- Updates: when DispMini on the display has a new version, the panel says so. Click it to open the About tab.
- Settings: the gear button opens the settings window next to the panel.
- Quit DispMini Sender: stops sending the picture and removes the virtual display. The iMac goes straight back to its waiting screen.
If a macOS permission is missing, the panel says so. Click it to open Settings.
Settings
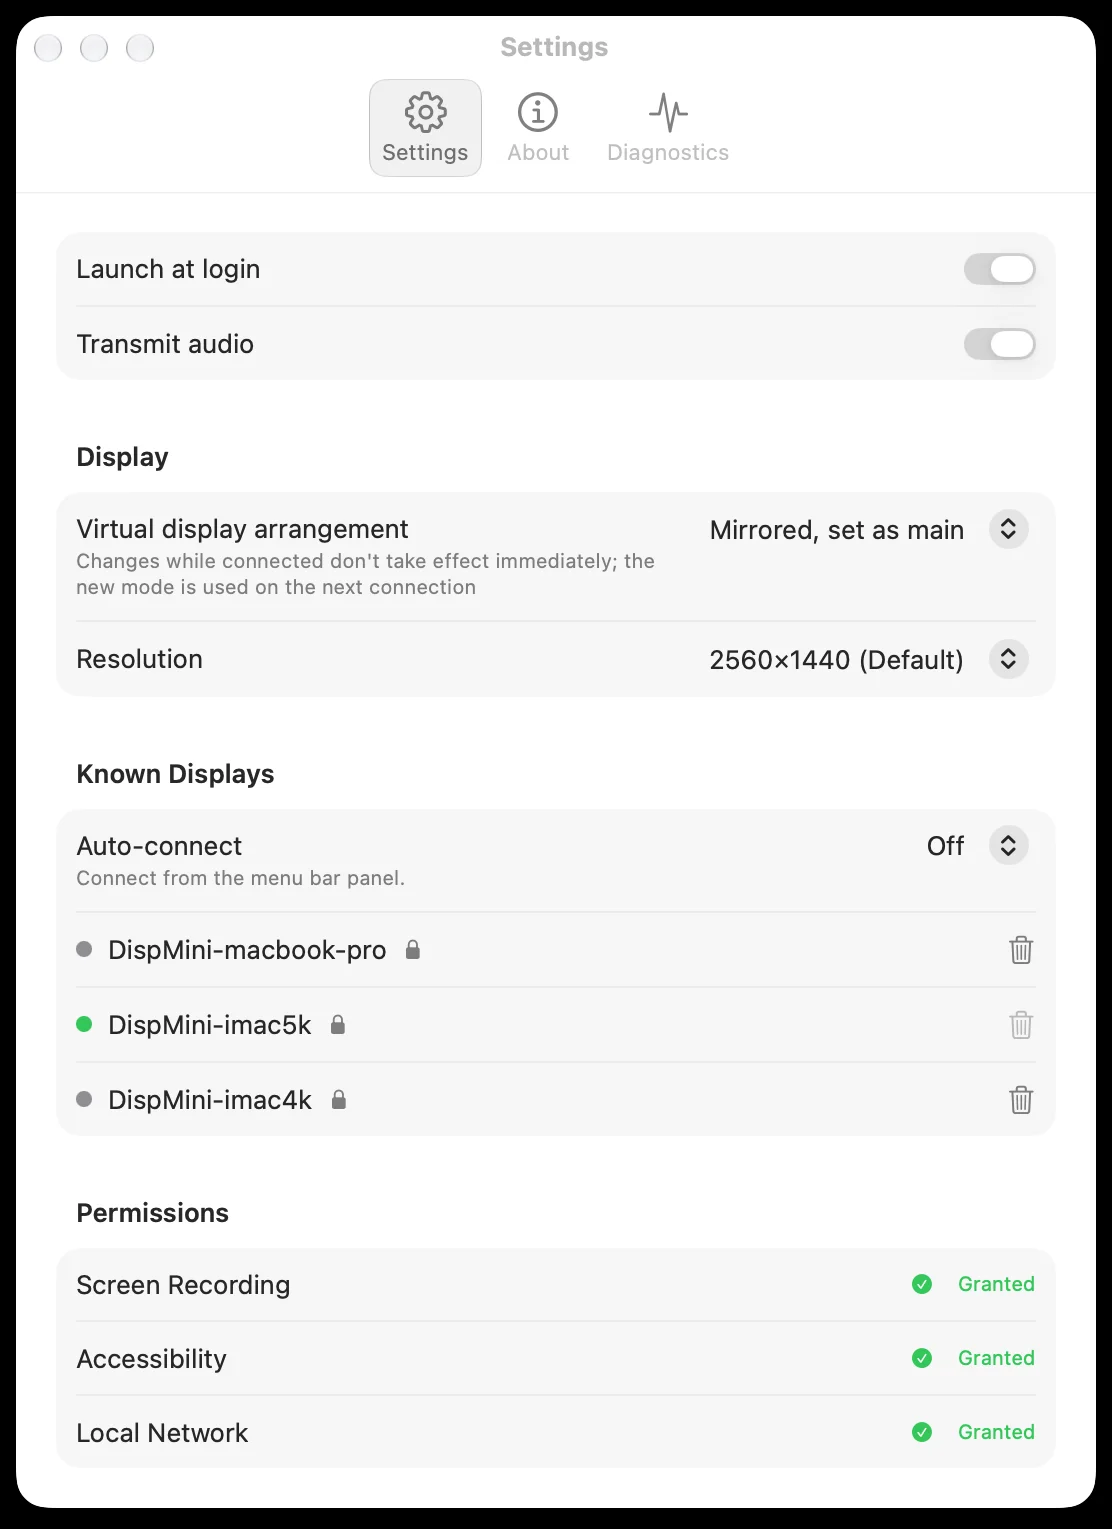
The settings window has three tabs: Settings, About and Diagnostics.
| Setting | What it does | Default |
|---|---|---|
| Launch at login | Opens DispMiniSender when you log in. Turn it on for a Mac with no monitor, so the picture comes back after a restart. | Off |
| Transmit audio | Plays this Mac's sound through the iMac's speakers. | On |
| Virtual display arrangement | How the iMac sits next to this Mac's own screen. See the four arrangements. | Extended |
| Resolution | How much fits on the iMac. See resolution. | Default |
| Auto-connect | When this Mac connects to a display by itself. See Known Displays. | When Thunderbolt is plugged in |
Virtual display arrangement
- Extended: the iMac is a separate display. On a Mac mini with no monitor it's the only display, so this is all you need.
- Extended, set as main: the iMac gets the menu bar and the Dock, and this Mac's own screen becomes a second display.
- Mirror as main: the iMac shows the same picture as this Mac's own screen.
- Mirrored, set as main: the iMac becomes the main display, and this Mac's own screen mirrors it. Use this for a MacBook whose screen is broken or removed, so the pointer and new windows stay on the iMac. See headless Macs.
If you change the arrangement while connected, the new one is used from the next connection.
Resolution
- Default: the same size as the iMac's own default in its Displays settings, such as 2560×1440 on a 5K iMac.
- More Space and Most Space: fit more on screen with smaller text. They use the same larger sizes that the iMac offers in its own Displays settings.
Every size is captured at the screen's full pixel resolution, so text stays sharp. If a new resolution can only be used from the next connection, the setting says so.
Known Displays
Every display this Mac has connected to, with its status. Auto-connect decides when this Mac connects by itself:
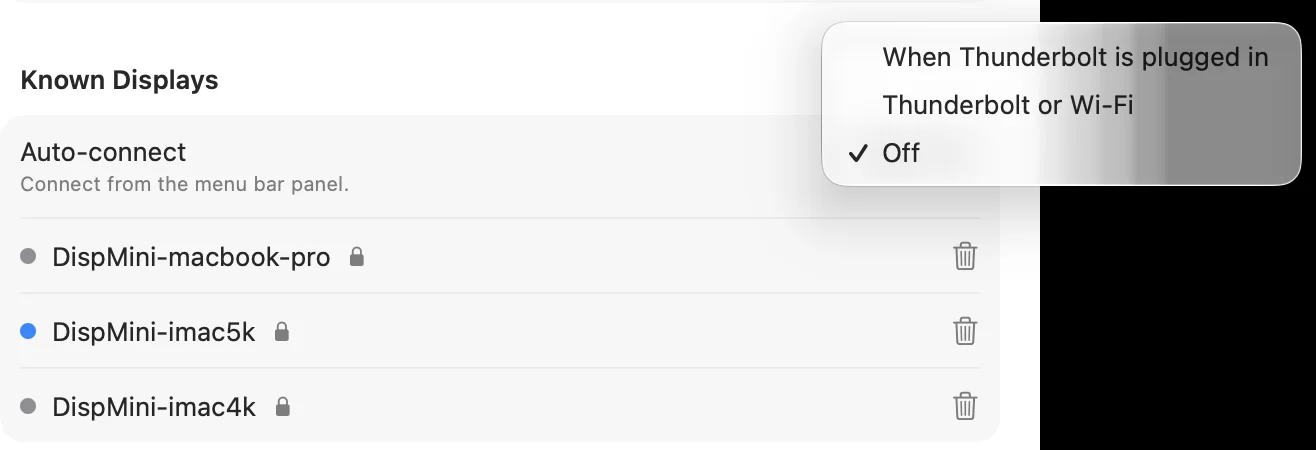
- When Thunderbolt is plugged in (default): plugging in a cable connects to a paired display, over Thunderbolt or Ethernet. Without a cable you can still connect by hand over Wi-Fi.
- Thunderbolt or Wi-Fi: also connects over Wi-Fi, but only to the displays you check Over Wi-Fi for. Use this if your Macs are only on Wi-Fi.
- Off: connect from the menu bar panel each time.
The trash button, Forget this display, removes it from the list. Forget a display if it went back to an older version, then connect again.
Permissions
The bottom of the Settings tab shows each macOS permission as Granted or Not granted:
- Screen Recording (Screen & System Audio Recording on newer versions of macOS): needed to send the picture and sound. If nothing happens after you allow it, quit DispMiniSender and open it again.
- Accessibility: needed only if you control this Mac with the iMac's keyboard and mouse.
- Local Network: needed to find the iMac. It shows Waiting for a Display until a display is found.
About
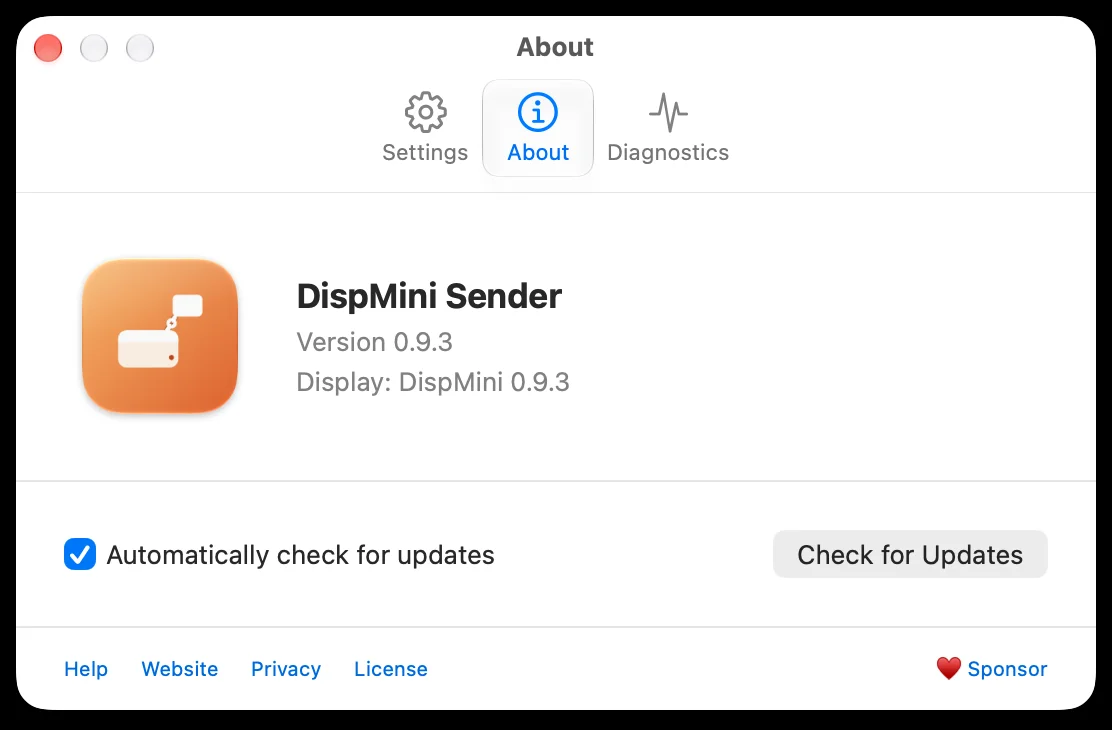
- Version: this app's version, and the version of DispMini on the connected display.
- Updates: Automatically check for updates is on by default. After connecting, the Sender checks at most once a day, and you can click Check for Updates at any time.
- Install and Relaunch: installs a new version in one click. DispMiniSender must be directly in the Applications folder. The picture stops for a few seconds while the app relaunches. Go to Download opens the download page instead, and Skip This Version hides the reminder for that version.
- Display updates: if DispMini on the connected display has a newer version, the About tab says so. Update it on the iMac.
- Links: Help, Website, Privacy, License and Sponsor.
Diagnostics
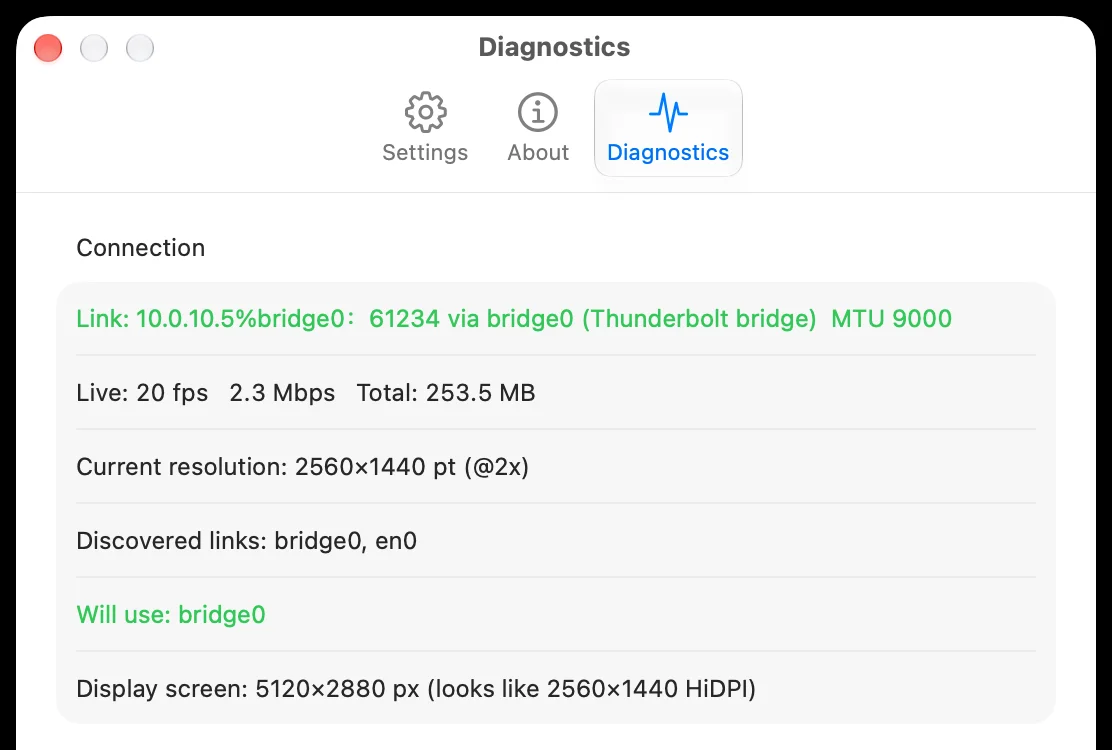
Shows live connection data, such as the link in use, the current resolution, the display's screen size, frame rate and bitrate. It's useful when something isn't working, or when you report a problem.